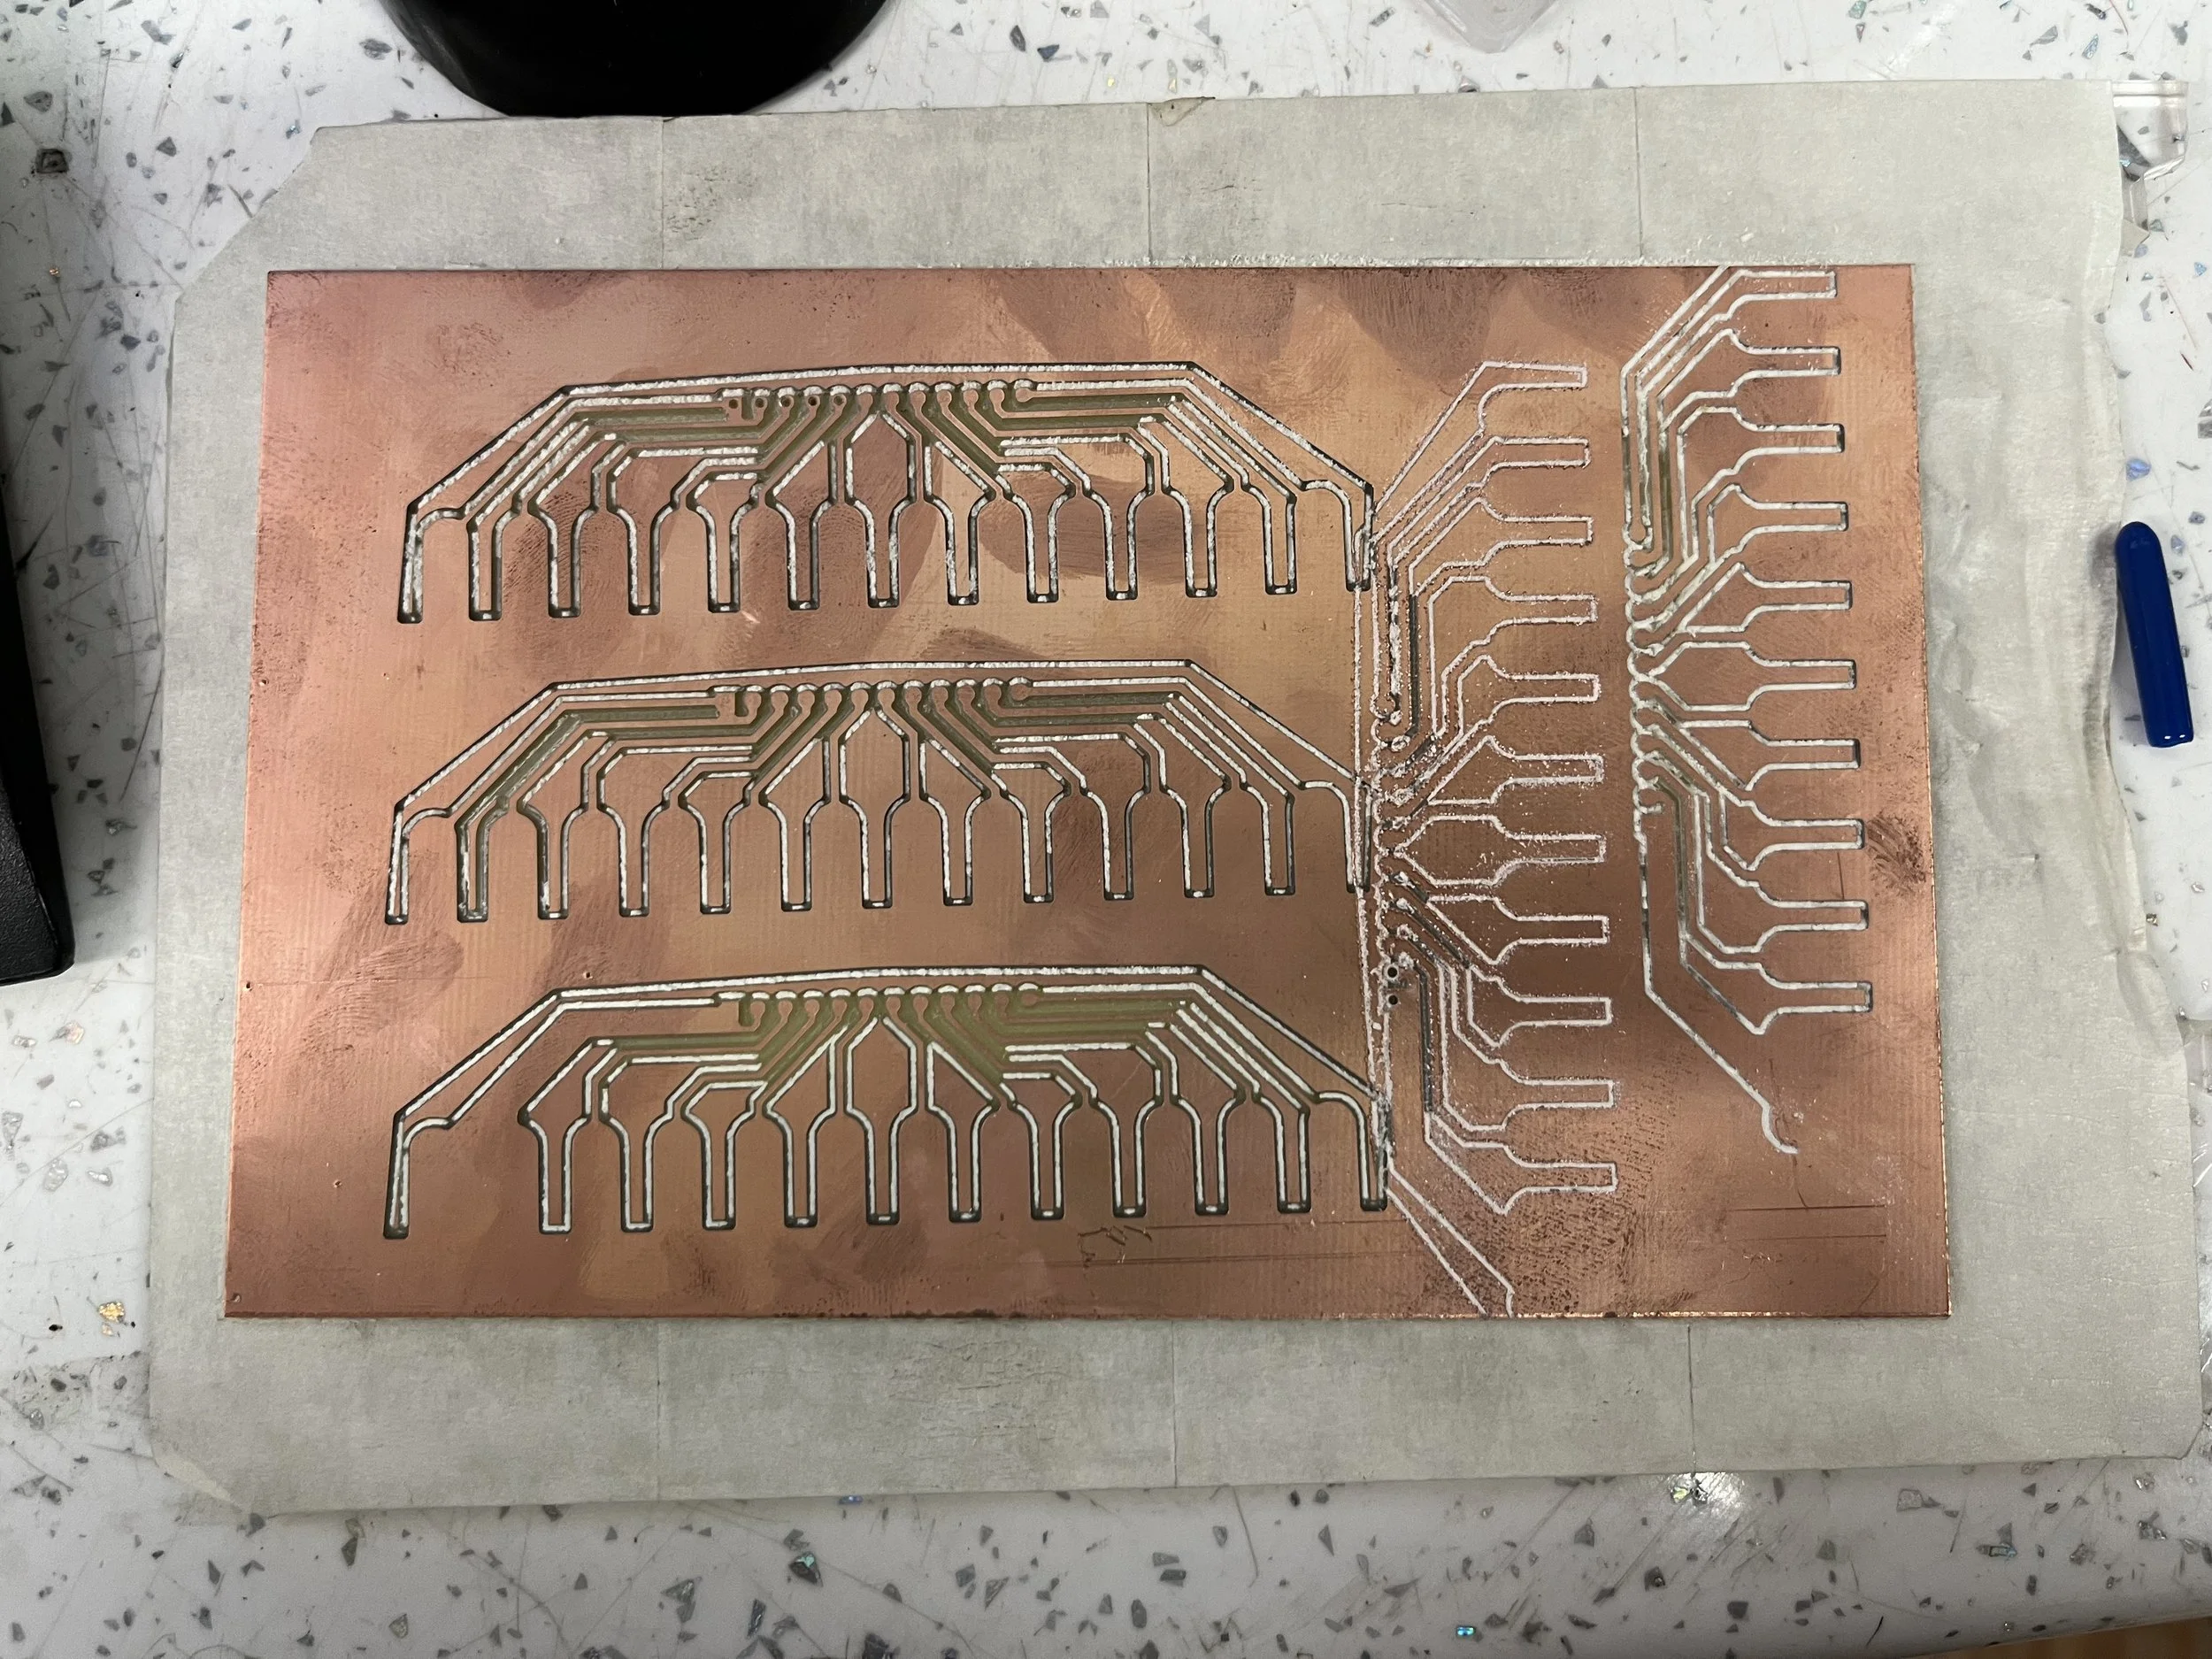
TLDR - so far good enough for single sided boards. Need to refine process for double sided.
For over a decade, I've been interested in milling printed circuit boards (PCBs) using a CNC machine. Chemical etching can be messy, and ordering from manufacturers can be a hassle, so I was excited to finally try it out at South London Makerspace with the help of Andy and Kyle.
To start, Andy had already purchased a set of "PCB" tools with end mills ranging from 0.8mm to 3mm on a 1/8 collet, as well as a set of 3.175mm V bits. I designed my PCB in KiCad, adjusting the pad sizes as large as possible, the clearance to 0.5mm and the minimum track width to 1mm and then exported the file as an SVG.
In InkScape, I created a negative of the PCB by filling the white space with black and deleting all other layers. Then, I used VCarve to generate the GCode for the CNC, selecting the Pocket ToolPath function and adjusting the cut depth to 0.04mm. For tools I selected an 0.8mm end mill and a v-bit. To offset the path and leave more trace/pad, I added a pocket allowance of 0.2mm for the v-bit path. Kyle suggested we run the calculation, but then ignore the end mill clearance, only running the v-bit path, and this worked well and significantly reduced job time. For the holes I adjusted the cut depth to 1.6mm and used the 0.8mm end mill.
To fix the blank PCB to acrylic, I used masking tape and super glue. Masking tape is applied to both the board the acrylic, and you then glue them together. The test cuts went well, but I found that the v-bit was either cutting too deep for double-sided boards or left nasty burrs when scratching the copper. Essentially the depth of the trace cutting was determined by my Z axis touch off. However, the holes drilled well and were good enough.
Overall, it was a successful first attempt, and I plan to refine the process by using 0.4mm end mills for cleaner cuts with less material loss. I'll keep you updated on my progress!


